How To Protect Your Car And Treat It For Rust

Cars today are more expensive than ever. Many cost more than the average Americans paycheck. Most Americans have car loans that average over 60 or even 72 months. That’s basically 6 year car loans with very hefty payments, so if we are going to invest that much money, not to include taxes and insurance, in our cars than we best protect them and make them last as long as possible. One area of grave importance is rust protection and treatment.

Rust is like cancer for a car. Once it starts it will only get worse and grow. Being that every car manufacturer except Saturn uses sheet metal and all use metal frames and undersides, rust is a major problem. Rust isn’t just a northern state problem. It can happen anywhere that there is moisture, extreme weather, salt (road salt used in winter weather and salty air and spray from the ocean). Rust can be prevented and treated, however.

We have seen commercials showing us what extreme weather and conditions can do to our cars and trucks. Your vehicles sheet metal is coated by a thin protection of primer paint and clear coat. All it takes is a small nick, a chip, road debris, even hail to cause this very thin protective layer to become damaged. Even the smallest damage like a little cut can let in moisture and this will start the oxidation of the metal commonly called rust. Rust is basically a loss of electrons which weakens the metal and allows oxidation to occur. Every car gets door dings in grocery parking lots, rock chips from trucks and vehicles on the road (tip, never follow a construction truck too closely as they are always throwing rocks), etc.

It is a good practice to clean and wax your car at least every two weeks and while doing so, look for any possible areas where rust could start. Look for nicks, scratches, dings, anything that breaks through the paint. It is important to notice these areas as early as possible so you can prevent rust from ever starting. To treat a deep nick or scratch, it is important to cover the spot and seal it from moisture.

Touch up paint matched for your cars exact color will of course look best and give good protection. If touch up paint is not readily available you can use a clear touch up or even clear nail polish. Be sure to use a toothpick instead of the included brush for application. The included brush will put on too much and actually make the repair standout. It will build up both sides of the scratch or nick. A toothpick works better as it will put the touch up paint directly where it is needed, inside the cut, nick or scratch.

For best results either go to an automotive dealer or an automotive parts store whom can easily locate your particular cars paint. The exact paint will look best and help hide the repair. Some cars have clear coats and will look best with a clear coat touch up after the initial repair. This will help seal out moisture and keep your car rust free.

If rust has already started than there are treatments available for this. It is a little more involved, though. You must sand the area until the rust is gone and there is just bare metal. Wal Mart carries a scratch repair pen that works great for minimizing the area affected. Next a product like NeutraRust is added. This will actually chemically alter any rust that is left and prime and seal the surface for paint.

It is a good idea to check the underside of the metal where the rust occurred to make sure it hasn’t penetrated to the other side. If it has then treat it the same way, but instead of touch up paint there are under car spray treatments that will give thicker and longer lasting protection.

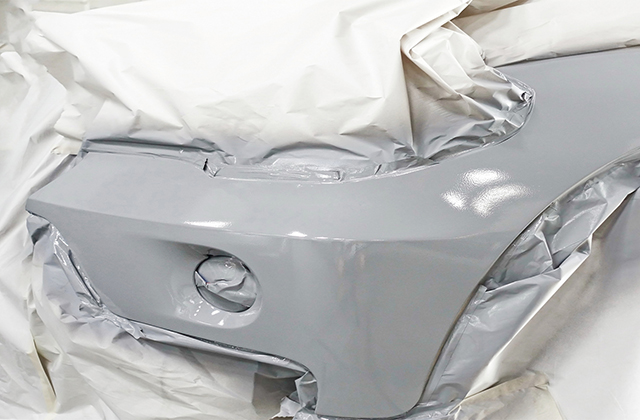
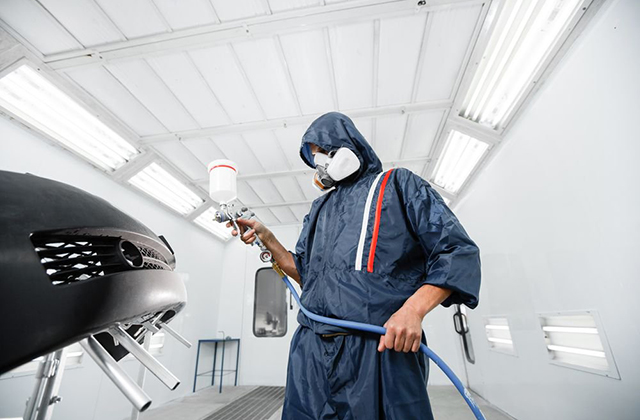
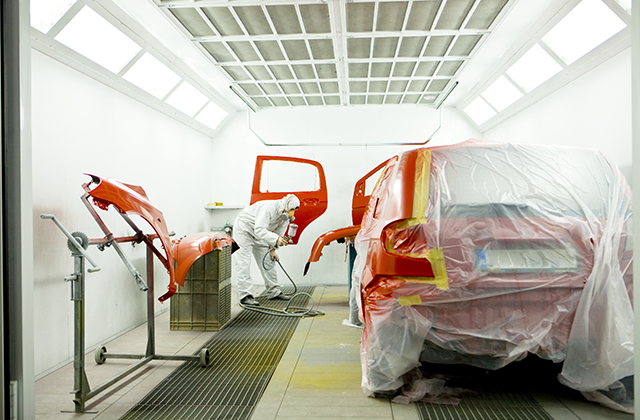
For surface area repairs follow up with touch up paint. This also works with larger areas, but it may be easier to have a body shop do the job as the results will be much more noticeable. A good idea that will save you some money is to stop by your local car dealers used car department. Ask for the paint touch up guy that they use or what days he comes. He will do the repair for you at a fraction of what a body shop would charge and it will be very professional.

There you have it, how to treat and prevent rust from little nicks to bigger problems. A little proper care really can make your car last that much longer.

For more great information, tips, safety and money saving products for your car or truck please visit: Best headlight restoration, Cloudy headlights, Paintless dent repair.

Article Source: http://EzineArticles.com/expert/David_Maillie/19149

Article Source: http://EzineArticles.com/311252

Pointers in Retouching Your Car Paint

As a vehicle owner, you will surely want your car to look new every day. Even the tiny scratches can be an eyesore. A repaint job may be too expensive so it is practical to simply do the repainting. Here are some tips that you can follow from professional painters to make your automobile look new again:

• Scour the areas where there are abrasions with sandpaper. Use the 240-grit variety for minor cuts and the 320-grit when you want to make the affected surface smooth. Deep-seated marks require the 800-grit class of sandpaper.

• Make sure that you wipe away all dust, corrosion and sandpaper residue after the sanding process.

• Rub on the paint primer evenly after cleaning the surface. Use a small brush or matchstick for tiny specks. Do not allow the primer to get mixed with original paint. The next step is to apply the first coating of your paint with care. Let the first coat dry thoroughly before painting the second layer. Follow the same process for the final coat.

• Make it a point to purchase the appropriate colour of your paint. Mix the paint in the bottle and test on a spate surface to find out if the shade matches with the original colour. Most vehicles have a firewall where there is a tiny plate that contains the body and paint code numbers. Bottles of touch-up paint come with brushes so you do not hate to buy a separate applicator.

• When the paint has dried completely, you can put car wax to make your car body glossy once again.

You can manage with manual paint application for small areas. However, if large sections or the entire car body needs to be retouched, it is advisable to make use of spray-painting. This task is quite difficult and should be done in a covered but fully-ventilated corner. As much as possible, the place should be completely free from dust so your paint job will not be spoiled.

It is also practical to hire a professional painter who can carry out the job efficiently. This move will cost you less money and the work can be done faster than if an amateur were to repaint your automobile. You can get in touch with local car suppliers and ask for referrals. Most of these dealers know of cheap painters who can do the work properly within a short duration.

If you want a cheap but decent job that will last a year or so, find out where local car dealers take the used cars they get as trade-ins to have them spiffed up before resale. To save money, you can remove any rust, spot-fill, and paint the small areas yourself, and then have the rest of the job done professionally.

Practice on a piece of scrap metal before you tackle the car, and don’t expect the results to look terrific. Follow these steps:

1. Make sure that the area is rust-free.

If the damage is only a deep scratch or a tiny spot, you may need just a dab of rust arrestor to stop the rust from continuing to form under the new paint.

2. Sand the spot carefully.

Use a small piece of #220 sandpaper to rough up the surface so that the primer adheres properly.

3. Wash the area thoroughly.

Remove any rust arrestor, dust, dirt, filler residue, and wax; then let the area dry completely before you apply the primer. Primer is used to seal a metal surface against rust and to provide a surface for the paint to adhere to. Primer also fills in tiny holes and imperfections in the surface.

If you’re dealing with a surface scratch or a chip that isn’t down to the bare metal, you can probably get away with simply applying the paint. But never apply paint to bare metal or plastic. If a bare spot is exposed, or if the spot is larger than a fraction of an inch, prime the area first.

4. Use a tiny brush or a matchstick to apply the primer sparingly.

You shouldn’t need more than a drop to cover the damaged area. Avoid getting primer on the original paint. If you do, wipe it off immediately. Let the primer dry thoroughly before moving on to the next step.

5. Mix the paint in the touch-up bottle.

Unless your vehicle is very new, the color probably won’t match exactly (which is another reason for keeping the area as small as possible). The paint on new models doesn’t fade as quickly or badly as old paints did.

6. Apply the paint, covering the surface of the spot completely and working inward from the edges.

If you’re painting a scratch or a very small area, you can cut down the brush or use a matchstick or toothpick instead. The paint should be no thicker than the surrounding surface or it will show, run, bubble, or peel off.

7. Wait several days for everything to dry completely.

8. Wax and polish the whole vehicle to blend in the painted area and bring everything to a high gloss.

If you are looking for the best deals on Volkswagen accessories and VW touareg parts, you can visit BSATuning.com.

Article Source: http://EzineArticles.com/expert/John_Z._Alvar/1403925

Article Source: http://EzineArticles.com/7258939

Insider Secret To A Show Car Paint Finish

Have you tried polishing a car by hand lately? If you have, you might think your car polish is defective when the real issue is your vehicle’s paint. That’s because automotive paint finishes have become much harder in the past few years, allowing them to last longer and resist scratching and chipping like never before.

The changes in paint technology, while very beneficial, have introduced a new problem for car owners. While it was possible to maintain automobile paintwork by hand just a few years ago, today’s new paint finishes make it nearly impossible. If your vehicle’s paintwork has minor scratches, swirl marks or water spot etching, you will need a buffer polisher to correct the problem. The good news is that the number one buffing machine for both home and professional use, the Porter Cable 7424, is very effective on even the most modern paint finishes, including the latest ceramic paints used by Mercedes-Benz.

The original Porter Cable Polisher and the new 7424xp are dual-action polishers. What this means is that the polishing head rotates (free-spins on its spindle) and orbits (powered by the motor) around the center spindle. A mass counterweight mechanism on the spindle dampens vibrations. This polishing action, often referred to as “random orbital” or just “orbital,” totally prevents symmetrical buffing marks, paint burns and the other types of automotive finish damage that people associate with high-speed buffing machines. That means if you use the polisher as intended it’s virtually impossible to damage your car, even with no experience.

This type of electric polisher closely mimics the motion of circular hand polishing. Imagine being able to make 2,500 to 6,000 tight hand circles in a single minute. That should give you a pretty good idea of how this machine does its job. Basically it works just like you do, only at super-human speed. Plus, it never gets tired!

If you have previously owned a car waxing machine that made a lot of racket, but did little else to fix the damage and restore shine, you will appreciate the brilliance of one of these buffing machines. It has all of the power needed to get the job done, yet it’s small enough and light enough that it’s easy to use.

The secret to using a dual action polisher with shining results is choosing the right polish and polishing pads for the job. Basically polishing pads come in three grades: cutting, polishing and finishing. A cutting pad is coarse and used to remove damage. A polishing pad has a bit if coarseness, but not much. It’s used to remove very minor damage and restore full gloss. A finishing pad is very soft. It’s used to polish without cutting and to apply waxes and glazes.

You must use an appropriate polish with each type of pad. Like the pads themselves, polishes have different grades of cut. A compound, for example, is a cutting polish. Compounds are rated by the level of sanding scratch they can remove. A compound designed to remove 2000 to 2500 grit sanding scratches will effectively remove swirl marks and water spots, whereas a product that can remove 1200 to 1500 grit sanding marks will remove fine scratches. If you can feel a scratch with your fingernail, you should remove it with 2000 grit wet and dry sandpaper before polishing.

If you’re confused about which polish to use to remove swirl marks, fine scratches and water spots, let me recommend Meguiar’s Ultimate Compound. It’s probably the best consumer grade product available today, and it’s easy to find at your local auto parts store.

After compounding to remove damage, you might think the finish looks great, but I recommend finishing off the job with a fine polish. Most compounds, including the new Meguiar’s product, will leave just a touch of hazing in the clear coat. All it takes to remove the hazing and restore a brilliant shine is a fine paint polish. I prefer and recommend Klasse All-In-One. It’s an amazing product that will produce a final finish that blows you away.

New automotive paints may be too hard to maintain by hand, but the solution is easy. A Porter Cable 7424xp gets the job done faster that you ever could by hand, and it’s a quality machine that will last a lifetime.

To learn how to use a buffer polisher, including the Porter Cable 7424, visit David Bynon’s Guide To Detailing blog, a trusted source for quality auto detailing tips and information since 1999.

Article Source: http://EzineArticles.com/expert/David_Bynon/26388

Article Source: http://EzineArticles.com/6641000