Selecting the Best Pressure Washing and Power Washing Equipment for Car Washing and Auto Detailing

Car washing and auto detailing professionals seeking commercial grade pressure washing and power washing equipment must evaluate the various technologies on the market while critically examining features and components. Only then can they begin to select the best pressure washing machines for their particular applications. Many in the car washing and auto detailing industry often make a mistake by selecting low-priced, under-featured power washing equipment that will absolutely not last. Pressure washing equipment pricing is a consideration, but not at the risk of negatively impacting quality and performance. Remember also that pressure washing equipment is also part of car care products.

Unfortunately, many feel pressure washing and power washing machines are similar, but that could not be further from the truth. Retail stores like Lowes and Home Depot offer a variety of pressure washing equipment, but the reality is the system components, motors, pumps and other parts are just not designed to for heavy-duty usage over time, especially when one considers car washing and auto detailing. Logic rules when the one compares the pricing of one of these light-duty power washing machines to commercial and industrial pressure washing systems selling for hundreds and even thousands of dollars more.

Commercial pressure washing machines are excellent for the car washing and auto detailing industry and sold in a variety of configurations and technologies. A car washing or auto detailing business can purchase a cold, hot, or even steam power washing machine powered by electric, propane, gasoline, and even diesel technology. The pressure washing machines’ psi and flow rate will also impact car washing and overall auto detailing performance and cleaning results. The best pressure washing and power washing equipment can last for more than twenty years.

Professional car washing and auto detailing work should involve hot water power washing equipment as the goal is to wash cars and vehicles more quickly and effectively. Cold pressure washing systems simply lack the higher temperatures that are so necessary to help clean the car surfaces more deeply and dissolve substances more quickly. Only higher temperature power washing machines are capably of delivering that kind of performance.

Certainly, auto detailing and car washing success is dependent upon the customer’s satisfaction with the cleaning job. Pressure washing and power washing cleaning chemicals are a critical aspect of any car washing and auto detailing business, but the type and safety of the chemicals is important as well. The EPA closely monitors the car washing and auto detailing industry to help ensure runoff is captured without pouring down storm drains. Car washing and auto detailing professionals must employ whatever systems are necessary to ensure regulations are met, or else the EPA will impose stiff fines.

Green cleaning chemicals and solutions have become the buzzwords in the car washing and auto detailing industry. Be very careful to carefully review and evaluate the green cleaning chemicals presented to you to help ensure they perform as well as the vendors claim for your car washing and auto detailing business. The car washing and auto detailing industry is laden with traditional cleaning chemicals as well as the more popular green cleaning chemicals, but many do not work well. Your task is to weed out the good from the bad before making a decision. Nano technology is the latest offering in green cleaning chemicals and will make a dramatic impact in the car washing and auto detailing industry.

Your car washing and auto detailing business may require the use of electricity rather than fossil fuels to power as well as heat a power washing machine. Many in the car washing business wish to use pressure washing equipment with a lower flow rate, especially if drainage is a consideration within their facility. Fortunately, all electric, hot, low flow, high pressure washing equipment is available on the market to meet your needs. Often these high-performance power washing machines require a minimum of 220 volts of power, so you may need an electrician to make the necessary changes within your facility.

Make an informed decision before purchasing pressure washing and power washing machines for your car washing and auto detailing business. Your customers’ satisfaction and the success of your operation depend upon it.

Daimer Industries, Inc. is the World Leader in providing Advanced Cleaning Equipment – Steam Cleaners, Pressure Washers, Carpet Cleaners, Carpet Extractors, Hard Surface Cleaning Equipment, and Green Cleaning Chemicals with Breakthrough Technologies as well as 100% Natural Ingredients! For more information, please contact a Daimer sales consultant at 1-800-471-7157, Ext. 1 or by visiting our website: http://www.daimer.com/

Article Source: http://EzineArticles.com/expert/Navneet_Taori/88009

Article Source: http://EzineArticles.com/594955

Is Your Car Finish Being Eaten Away?

Washing Your Car Regularly.. Why?

Aside from the obvious of having a car that looks great, car washing can protect the cars finish. Bird droppings and bug splatter can get to be real relentless at different times. Also air bourne contaminant( some we can’t even see), all wage a consistent and prolonged attack on your cars finish. Our range of Melbourne car paint protection have been developed with cutting edge techniques with the sole purpose of protecting your vehicle’s paint against chipping, abrasions, scratches and ultraviolet rays.

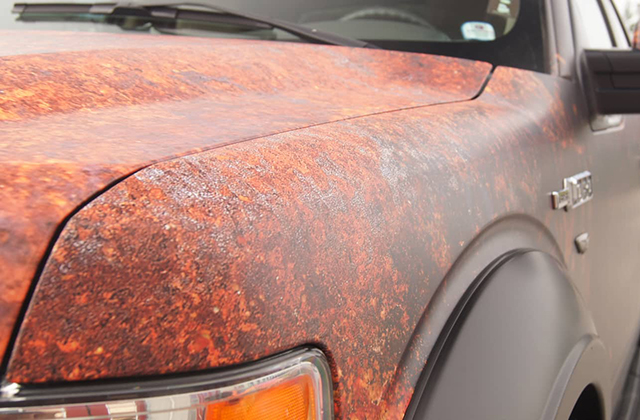
Bug splatter for instance, have acids and particles in them that can eat away at the clearcoat of your car, making it susceptible to rust.The metallic particles that come off the rotor as well as brake dust with its adhesive properties from the factory, and tar, all do damage to your cars paint.

So how can we stop the culprits right in there track, by washing our vehicles regularly!

How and Where To Start

I don’t know if you knew this or not, but most of the swirl marks we see on our car is from washing the car. I know you have seen one of those dark colored cars that look real good at a 30000 ft view. However when you get up close it is riddled with swirl marks. They kinda look like cookies.

Why this knowledge is important is that it helps us all to realize, that even though washing a car seems so simple, What is often overlooked is that there is a right and a wrong way to do it. That is the first place to start is with this understanding.

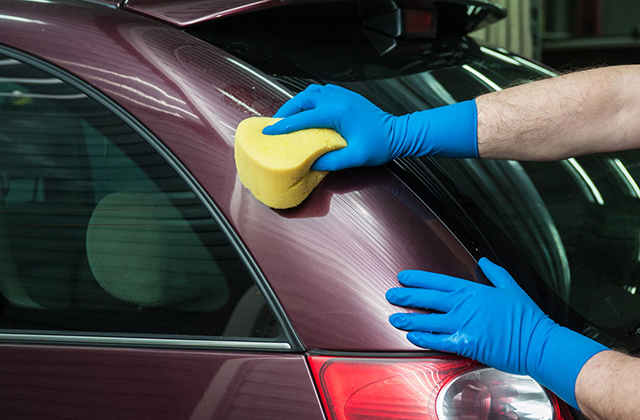
I like to start out by finding products that will not scratch the paint. I use a chenille wash mitt, or a microfiber one. They both do a great job at pulling the dirt away from the paint and holding it in there fibers so that it does not scratch the paint.

Please don,t use dish washing liquid to wash your car with, why? Dish detergent has properties in it that strip the paint of the oils it needs to keep from drying out. So use a good car wash shampoo to wash the car with. I use Meguiars Soft Gel, its ph balanced with no detergents, and has lubricants in it that bring out the gloss in the paint finish.

Washing the Car

Because I do not want those swirl marks on my car, or any car I work on. I use more than one bucket to do my car washing. I recommend to do it that way if you can, cause after you make a pass with the wash mitt its gona be dirty. Instead of constantly washing with the water hose, just dip it in the bucket of fresh water to remove the dirt then back in the soapy water.

With that said, as always I like to wet down the car real good with water to remove what I can before I start car washing and you should too, it gets of some the dirt that I would otherwise have to.(I know call me lazy) Also before you suds away, this is a good time to remove any bugs and tar using a bug and tar remover. Gold Class Bug and Tar Remover is the way to go here.

Then begin by cleaning and doing the Wheels and Tires. I have written an article on that for you, so if you want to start with the article before moving on.

Using a soapy sponge, and with the car wet down apply the bug and tar remover going over the car until you get all those unsitely trouble spots. After you are finished, rinse area with water.

Starting at the Top of the vehicle go ahead start to wash the car, taking a moment between passes to rinse the car off, as you work your way down from the top to the moldings.

Remember clean the wash mit often in order to keep as much dirt as possible, from being introduced back on to the paint. While car washing be sure to get the door jams, the area outlining the trunk and up under the hood in that hood pocket outlining the engine.

Its important to wash the car completely from top down, as the bottom is alway the dirtiest, as well as under the hood area so do those last. Preferably with a different Wash mit either way remember not to introduce a dirty wash mit back on to the paint.

Drying The Car

I like to use a Dual Pile Microfiber towel to dry the car with. Starting with the windows first, go ahead and dry the car off. Then after you get the windows. Start drying from top down like you washed the car. Do the door jams, and Trunk lid, and under the hood, after you have dried all the other panels of the car like we talked about.

That way we continually eliminate the chance for scratches and swirl marks while you are car washing. If washing the car in the sunlight try not to let the water dry on you, or it will leave water spots. So do the car washing out of direct sunlight if at all possible.

You want more great car detailing secrets? Come visit us at Auto-Detailings.com for all your car care needs.

K.M.Dodd is a car enthusiast, and an experienced auto detailer with over twelve years in the field of automotive detailing. Auto-detailings.com [http://www.auto-detailings.com] is a growing compilation of his knowledge and expertise. At Auto-detailings.com [http://www.auto-detailings.com] you can read up to date content-rich quality information in an easy to understand style. Written for the Do It Yourself Detailer

Article Source: http://EzineArticles.com/expert/K.M._Dodd/10266

Article Source: http://EzineArticles.com/49829

The Importance of Properly Masking a Car For Primer

The repair areas has been repaired and finish sanded with 150 grit sandpaper, feathered edged and the panel prepped for primer. Now it is time to get some primer on the repair area. This article is going to discuss how to prevent primer from damaging the areas that you do not want primer to get on. We offer the best Sydney car paint protection and clear wrap protection service & we will ensure your vehicle appears beautiful on the exterior in Sydney.

Take Time To Save Time The purpose of masking is to prevent primer over spray from getting on the areas it is not attended to be. With the types of primers used today, it is necessary to take all measures to ensure over spray does not get onto the unintended surfaces. First, the two-part epoxy and urethane primers are very difficult to remove. Back when we used to use lacquer primer, all of the over spray could be cleaned with a little it of thinner on a rag. However, today’s catalyzed primers do not wipe off. Once the primer is dried on the surface, you can rub with thinner all day long without getting it all of the way off. The second reason is that these primers carry a long distance. Again, with the old lacquer primer, if it traveled more than 12″ it would be dust by the time it landed on the surface. However, the primers of today can travel the full length of the vehicle and still stick to the painted surface, glass, moldings, etc. With this said, more care should be taken to properly mask a vehicle for primer. The extra time spent properly masking a repair area for primer will save you a lot of time rubbing, sanding and buffing to remove unnecessary overspray.

No More No Less You need to be certain to primer everything that needs to be primed. That is any metal, filler, or scratches made by the 150 grit sanding. However, there is no need to prime anything else. For example, if you have a 6″ diameter repair area, there is not need to primer entire or even half of the panel. This is something that I have noticed some students tend to do. You only need to prime the repaired area. The spray will slightly exceed the repair area, but try to keep it as small as possible. Another thing to remember is to keep primer out of areas that is does not need to be. For example, molding edges and jambs. There is nothing sloppier than to open a car door after it has been completed and see primer overspray. Or see primer on the edge of a molding. The reason this happens is because many time when masking for primer, the person masking thinks, well, this is just for priming and rushes through the masking process. Then when masking to paint, more care and attention to detail is taken. You may not have paint on the unwanted areas, but you have primer, which looks even worse than the paint would have. So be certain to take as much pride to mask the vehicle for priming as you do for getting it ready for paint.

When masking off jambs, mask to the edge of the panel. There is no need to allow any primer into the jamb area. Therefore the edge of your tape should be at the edge of the panel to prevent over spray from getting into the jamb area. Now when we mask for painting, we will mask back from the edge slightly to allow a little overspray to spray onto the jamb. This eliminates noticeable lines, but for now, mask right on the edge of the panel.

Nothing Hard About It The only hard edges you should have when priming is the jamb edges. You should try to avoid all other edges if possible. Hard edges are a define no no. Let’s take the same 6″ inch diameter repair area and mask a 8″ inch square around it. You only get primer where you want it, but now you have hard edges to feather edge out. Let’s look at another approach to mask the 6″ repair area. Mask all adjacent panels and anything near the repair area that you do not want primer on. Then you can go out 12″ and back mask if needed. Back masking is the process of masking something and flipping the paper over creating a smoother edge. When correct, the paper will now have the bottom side of the paper facing up. For instance, if the top of the paper is blue and the bottom of the paper is white, now the white will be showing. Now that we have it back masked, we still do not need to spray primer all of the way to the paper. Try to avoid that is possible. Ideally, try not to have any edges at all. The overspray makes an easy area to sand with as little effort as possible.

If In Doubt…Cover It Over spray is something that you do not want to get on the unwanted surfaces. So must the entire car be cover? The answer is, if in doubt cover it. It only takes a few minutes to unroll plastic and cover the car. If we take the 6″ inch diameter repair area and mask around in using 18″ inch paper and set the gun spray gun using low pressure, you may be alright. However, just a little over spray can cause you hours of cleanup and grief. This is something that you need to get a feel for, but if in doubt, bag the car with plastic. If you’re priming the entire panel, be certain to cover the entire car with plastic. A little time spent in the front end will save a lot of time in the back end.

Tell Tell Signs Masking is perceived by amateurs as being unskilled and unimportant. However, I think you will agree that best best looking paint job can look horrible if you see paint and/or primer on moldings or in jambs. The idea is to make invisible repairs. Improper masking is the easiest and fastest way to determine that a vehicle has been painted.

These tasks are hard to put in writing, but only take a minute to demonstrate so be sure to check out the free training videos. Learn more at the car paint jobs.

Hi! I would like to thank you for stopping by. I would like to personally invite you to check out my books I have available by clicking Auto Body Books

Article Source: http://EzineArticles.com/expert/Donnie_A_Smith/512975

Article Source: http://EzineArticles.com/4037923